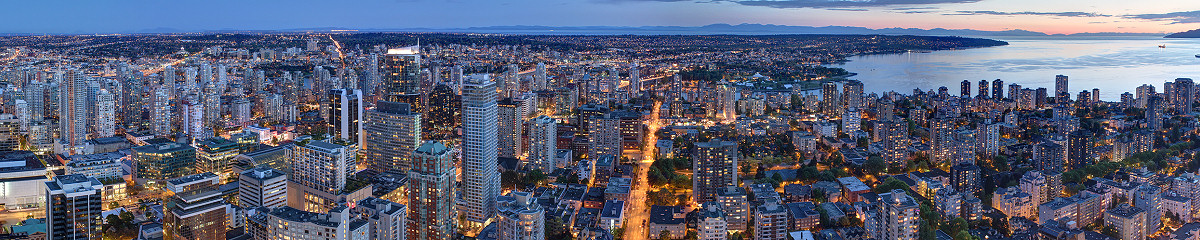
Canon Canada’s Showroom at its new headquarters in Brampton, Ontario features my gigapixel panorama of Vancouver from the Shangri-la Hotel at Dusk.
Here is the original image
Related Articles:
Canon Canada’s Showroom at its new headquarters in Brampton, Ontario features my gigapixel panorama of Vancouver from the Shangri-la Hotel at Dusk.
Here is the original image
Related Articles:
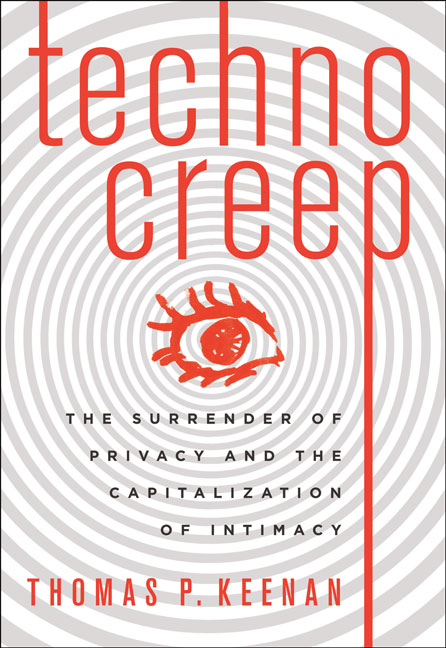 My pre-riot gigapixel photo of the Game 7 Crowd of the 2011 Stanley Cup was cited in the book Technocreep: The Surrender of Privacy and the Capitalization of Intimacy by Thomas P. Keenan.
Excerpt (page 31):
While the surveillance camera and cell phone videos used by the VPD were certainly helpful, they are nowhere near the state-of-the-art in surveillance camera technology. A remarkable photo of the crowd on Georgia Street taken a few hours before the riot was posted by a company called Active Computer Services. It is actually a composite image of 216 high-resolution photos stitched together, and it reveals an uncanny level of detail. You can zoom in from the massive scene to identify individual faces with ease. Active Computer Services has a particularly telling motto on their home page (“I spy with my little eye…. “) and they tout the “forensic science” applications of their technology.
“Technology is rapidly moving into our bodies,” writes cyber expert Keenan, “and this book gives a chilling look ahead into where that road may lead us – on a one way trip to the total surrender of privacy and the commoditization of intimacy.” Here is the definitive dissection of privacy-eroding and life-invading technologies, coming at you from governments, corporations, and the person next door.
“This masterful weaving of the negatives and positives of technology makes for a book that is realistic about technology’s perils yet optimistic about it’s great potential.”—Foreword Reviews
One of the biggest summer blockbuster movies of 2012 was Marvel’s The Avengers, produced by Marvel Studios and distributed by Walt Disney Studios Motion Pictures.
Although roughly a third of "The Avengers" is set in New York City precious little was actually filmed there. Industrial, Light and Magic (ILM) crew members, headed by visual effects supervisor Jeff White, photographed 7-miles of city streets (about ten city blocks by about four blocks) from a variety of heights and at different times of day totaling 250,000 images. The crew then digitally recreated roughly 20 square blocks of mid-town Manhattan using a variety of techniques. Live action shoots were held primarily on sound stages in New Mexico and in the streets of Cleveland.
 |
 |
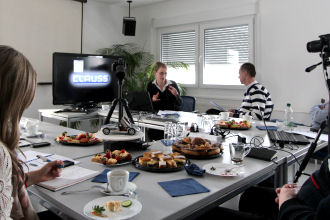
The Clauss RODEON VR panohead was used to capture and create 1800 x 360 degree pano-spheres. The images above (captured from the video below at 1:10 mark) shows the Clauss RODEON VR and a laptop running RODEONpreview.
To rebuild the streets, ILM sent a team into New York to photograph the city. “It was the ultimate culmination of building on the virtual background technology (at ILM),” says White. “We started with the biggest photography shoot I know we have done here, which was 8 weeks with four photographers out in the streets of New York.” The team shot some 1800 x 360 degree Pano-spheres of NY, using the Canon 1D with a 50mm lens – tiled, and as an HDR bracketed set.
The ILM team worked their way down the streets at street level – shooting every 100 feet down the road, and then started again doing the same street via a man lift at a height of 120 ft, then they would move to shoot every building roof top. But given how long it takes to do a bracketed tiled set of images, especially in sometimes high wind, it was not as simple as just moving down a street. By the time the team would get to the end of the street it would have taken so long that the sun would have completely shifted, thus making one end of the street lit from morning sun, but the end of the same street lit from the opposite side by afternoon light. To allow for this the team had to zig zag across New York, and try to capture most of the streets from the roughly same time of day, but on different days. Even this was greatly complicated by changing weather. Once all the images were captured, tiled and combined, another team set to removing (painting out) all the ground level people, cars and objects. Then a third team would re-populate the streets with digital assets ready to be seen in perspective or perhaps blown up. ILM came up with complex algorithmic traffic scripts to populate streets and create the sort of traffic grid lock any real world incident like this would naturally cause.
– quote from VFX Guide article by Mike Seymour
My pre-riot gigapixel photo of the Game 7 Crowd of the 2011 Stanley Cup continues to garner so much attention by various individuals, companies and institutions.
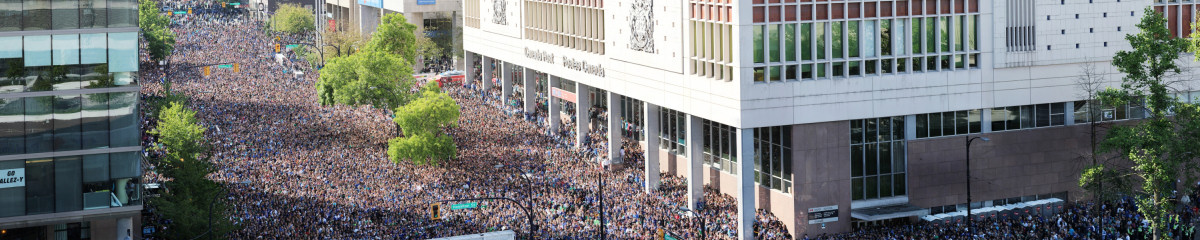
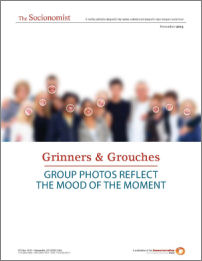
![]() Most recently, it was used in a study by The Socionomics Institute which showed that through people’s facial expressions, the social mood of the crowd was predominantly negative.
Most recently, it was used in a study by The Socionomics Institute which showed that through people’s facial expressions, the social mood of the crowd was predominantly negative.
 They theorized that the economy, particularly the S&P/TSX Composite Index (which was at a 9% decline at that time) was an indicator of the negative social mood and "may have played a role in the riot."
The study does not suggest that 2011 Stanley Cup riot was a result of the decline in the stock markets but rather it points out that regardless of the outcome of the game, the general social mood of the crowd was already negative.
Below is a excerpt of the study "Social Mood Can Be Evident in Facial Expressions" by Alan Hall (The Socionomist December 2013).
Social mood is an unconsciously shared motivational impulse arising from social interaction independently from events. People express social mood in many ways. Stock markets provide the most rapid and best-documented reflection of the fluctuations in social mood. We are not really sure how social mood is communicated. It is communicated by what people say, surely, but there are probably many things … that are more unconscious: The way that facial muscles change, for example. We might be hearing content on television, but we are also getting messages [from] facial expressions.
Social mood is unconscious, but it influences conscious emotions, which are visible in facial expressions … "The face is one of the richest sources of communicating affective and cognitive information,"1 which simply means that we can tell a lot about what others are feeling and thinking by their facial expressions.
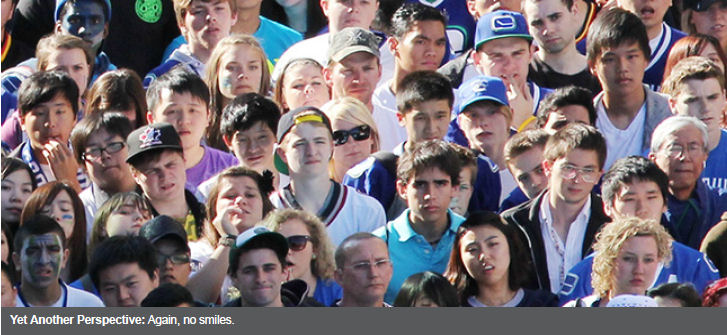
People who pose for group photos are conscious of what they are doing, yet the influence of social mood is still anecdotally evident.
Photos of unaware subjects in crowds are different, yet they also seem to reflect social mood.
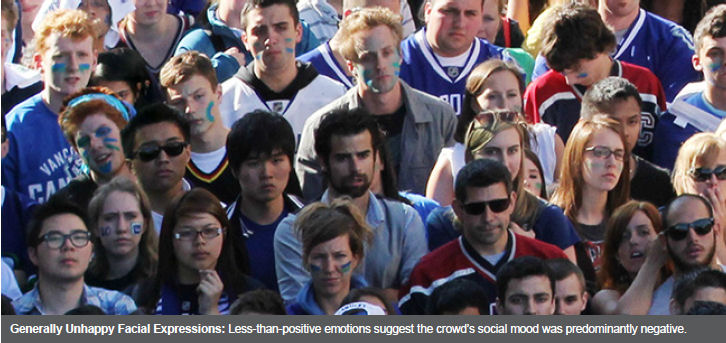
For example, this cropped photo shows a tiny portion of Ronnie Miranda’s GigaPixel image of many of the 100,000 hockey fans that crowded into the streets of Vancouver, Canada in June 2011.
Notice the generally unhappy facial expressions, which reflect less-than-positive emotions. Since no one is smiling, the faces suggest that the crowd’s social mood was predominantly negative. And although this photo doesn’t tell us about the immediate direction of the mood trend, what happened next does…. the Vancouver Stanley Cup Riot erupted.
We think that social mood played a role in the riot, because it erupted after a 9% decline within a larger 22% bear market in the Toronto S&P/TSX Composite Index (see Figure 4).
In similar fashion 17 years earlier, the 1994 Vancouver Stanley Cup Riot also occurred after Game 7 of the Stanley Cup Finals. The June 14 riot followed a 12% drop in the S&P/TSX Composite Index (see Figure 5).
We think the stock market declines and the sour faces in the hockey crowd reflect the same thing: a negatively trending social mood.
For more information and to access the complete detailed study which includes a special 18-minute video, please visit The Socionomist website.
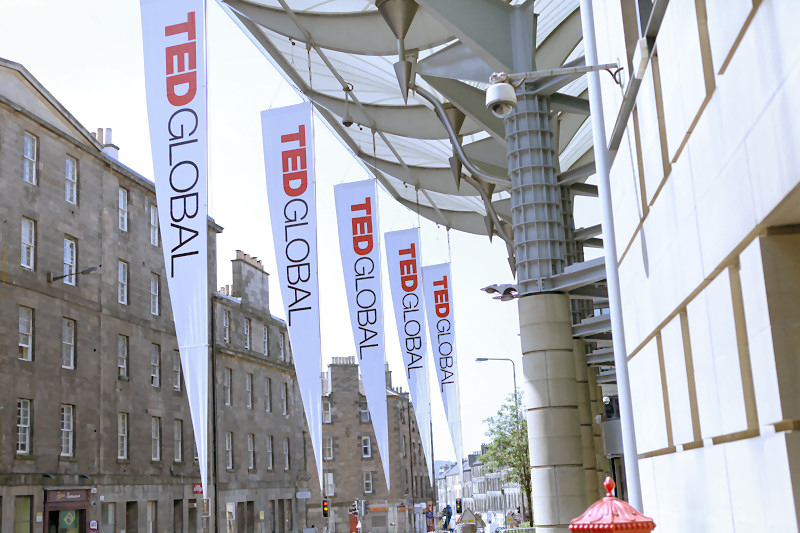
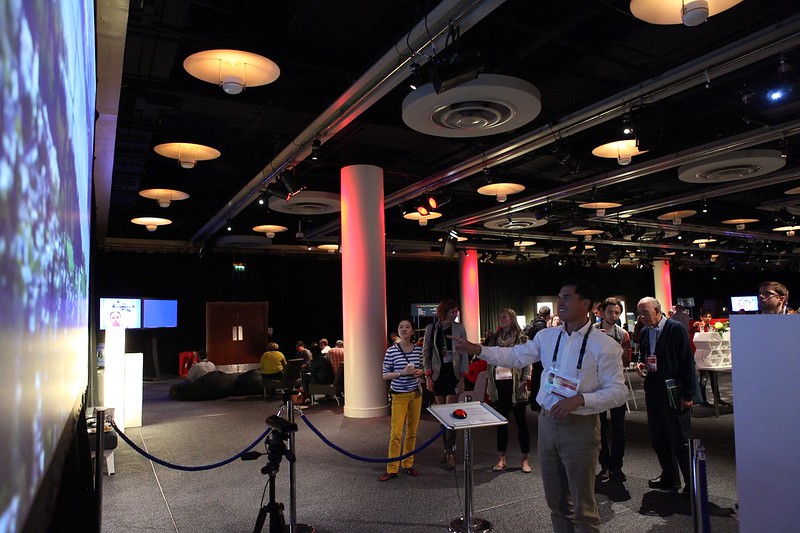
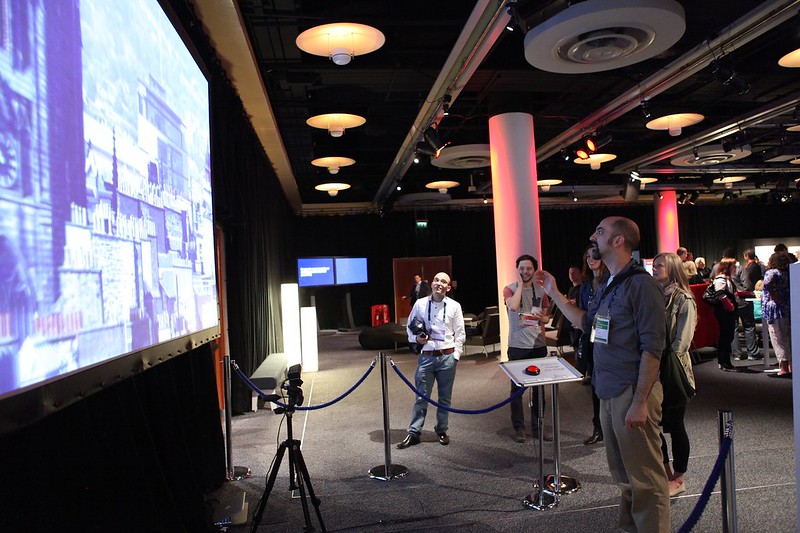
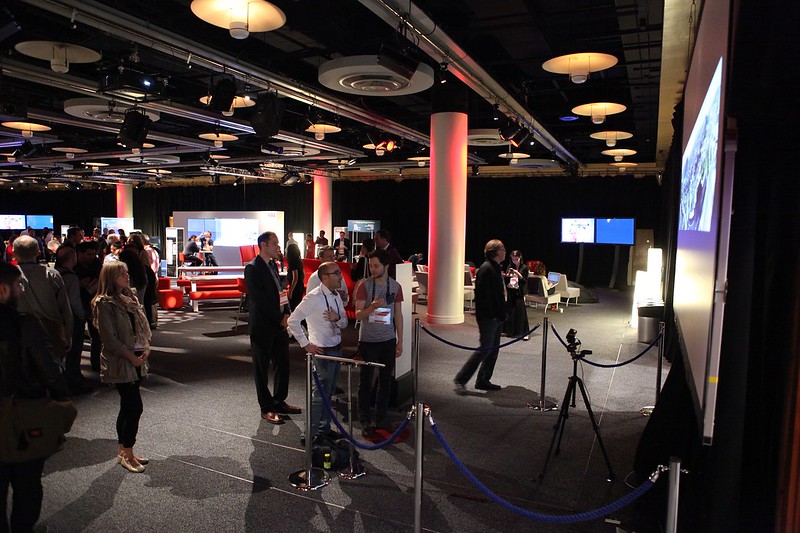
 Gigapixel.com was an exhibitor at TEDGlobal 2013.
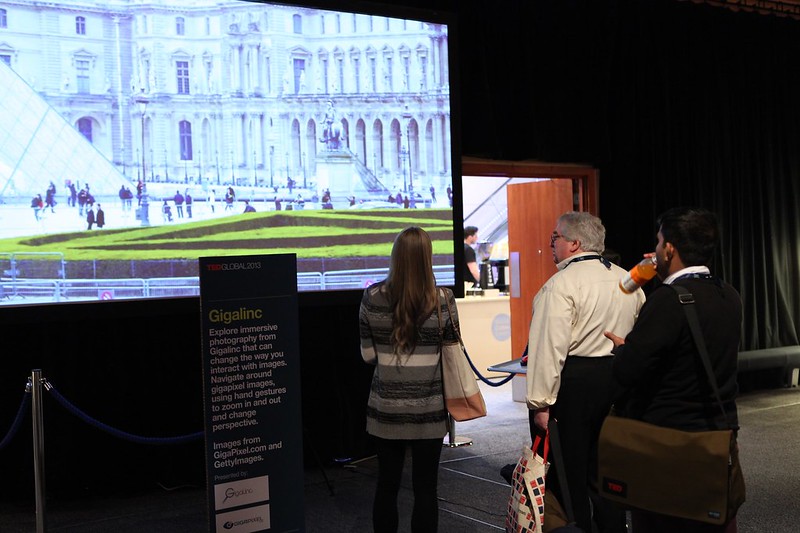
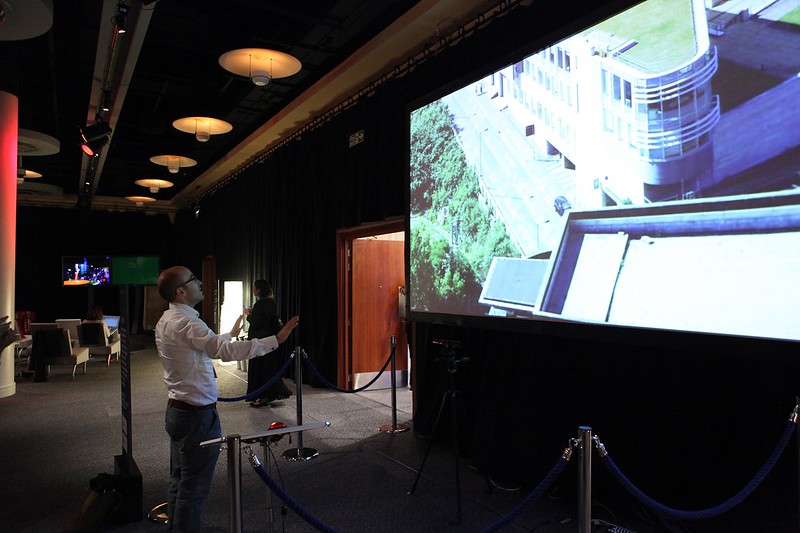
In 2011, I met Samuel Cox and invited him to Vancouver to have an exhibit of my gigapixel images using GigaLinc, an interactive user interface he developed which allows viewers to navigate and explore a gigapixel image in detail using Kinect-based hand-gestures, zooming in and out of areas of particular interest. Surround-sound adds to the multi-sensory experience.
This time around, Sam invited me in early 2013 to collaborate again with him as part of an exhibit for TEDGlobal 2013 in Edinburgh, Scotland from June 10-14. We would use my gigapixel images along with GigaLinc. TEDGlobal would be a great opportunity not only to showcase my images but also to promote my business as well.
I arrived Edinburgh a week earlier to capture new gigapixel images of Scotland for the exhibit. I visited various places such as Blackness Castle, Linlithgow Palace, Stirling Castle, Wallace Monument, Duone Castle, Calton Hill, Nelson Monument, Edinburgh Castle, Holyrood Park and Arthur’s Seat. I was able to capture several gigapixel images with some amazing views.
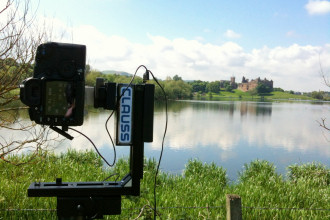 Capturing a gigapixel image of Linlithgow Palace |
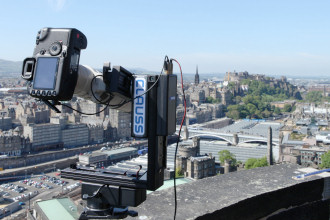 Capturing a gigapixel image of Edinburgh |
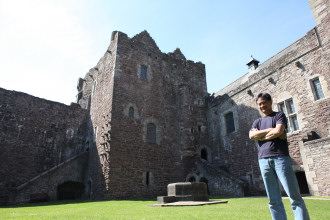 at Duone Castle |
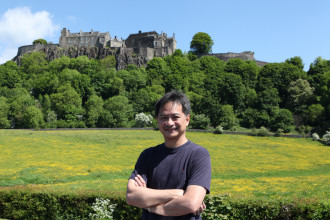 Stirling Castle in the Background |
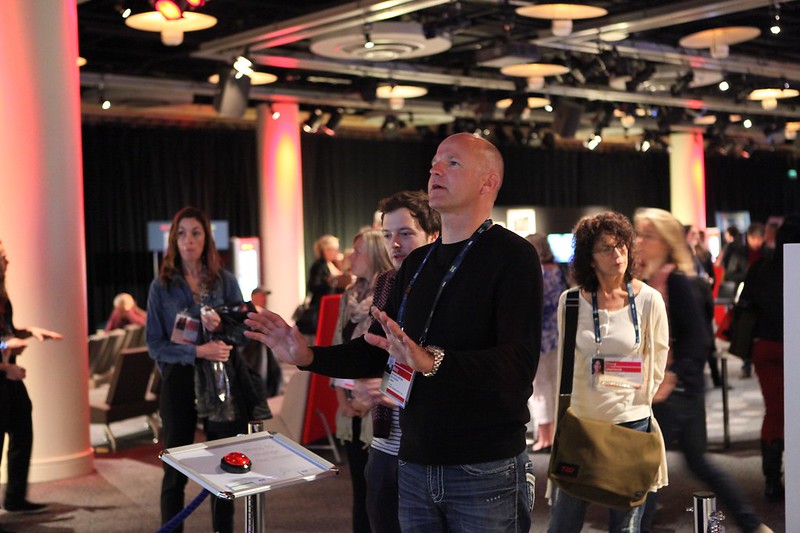
We had a total of about 16 gigapixel images on display during the exhibit. Attendees of TEDGlobal were not only fascinated by GigaLinc (the use of hand-gestures to explore images projected on a wide screen) but were also so amazed (some in disbelief) at the high quality of the resolution and the level of detail of my gigapixel images. My image of the Vancouver 2011 Stanley Cup Crowd before the riot was the most popular photo and had the greatest impact.
Click on a photo to enlarge.
 |
 |
 |
 |
 |
 |
 |
 |
 |
 |
 |
 |
The exhibit was a success and had nothing but positive feedback from both TEDGlobal organizers and attendees. It was a great experience!
Special thanks to Priscilla Fazakas of TED Conferences LLC.
While in Prague, I got in touch with a very close friend, Carmela Borgers, whose husband, Alain Borgers, was the General Manager of Shangri-la Hotel Paris. Since it was their last year in Paris before her husband gets re-assigned to another Shangri-la Hotel property, I asked if I could visit her and also shoot the view from one of the hotel’s suites. She gladly welcomed me over and confirmed that the suites were available, that is, they weren’t booked and I could shoot from one of them. From Prague, I made a detour to Paris.
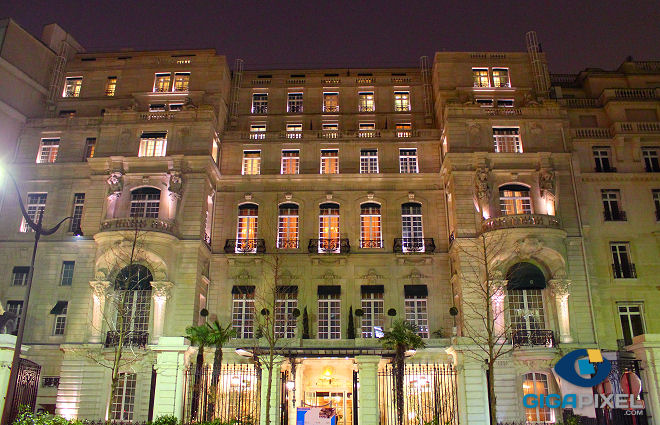
 The building of Shangri-la Hotel used to be the residence of Napoleon Bonaparte’s grandnephew, Prince Roland Bonaparte. Many parts of the hotel were fully restored to its old stylish elegance. I was suppose to head up to the suites at 4pm but I met Carmela first in the hotel’s lobby lounge a couple of hours earlier for some tea, to chat and catch up with each other. During this time, Carmela checked with the hotel staff and made sure that everything for the shoot was a go. The Assistant Front Office Manager, Hubert Savouré, came back with some bad news: at the last minute, all the suites got booked. What a bummer! I’ll miss my one and only chance to shoot from a unique view.
Fortunately, the Resident Manager, Matthias Terrettaz, provided me with an alternative – the roof of the hotel. Are you kidding? The suites being unavailable at the last minute actually turned out to be a blessing! I ended up shooting from a much better vantage point than what I originally came for! Furthermore, Shangri-la Hotel Paris doesn’t give access to their roof to anyone not even the public. WOW!!! I got even more excited for the shoot!
Accompanied by Messrs. Terrettaz and Savouré, we headed up to the roof. Carmela was able to go up as well and see the view for the very first time.
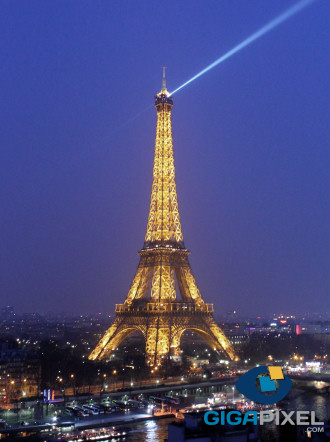
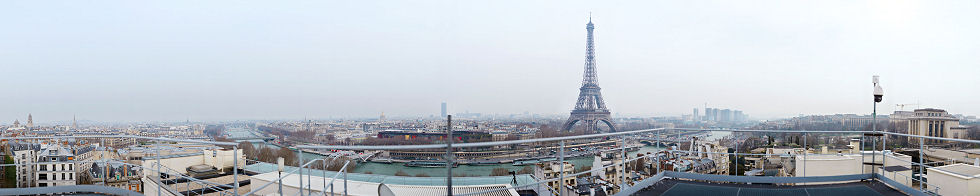
I was blown away by the spectacular, breath-taking view: not only do you get a full unobstructed 360° view of Paris and the River Seine, but you can also see the entire base and 3-legs of the Eiffel Tower (a very rare view). Next to the Shangri-la Hotel was the residence of Gustave Eiffel. According to history, Gustave stipulated, as part of his contract to construct the tower, that he has an unobstructed view of the Tower from his residence. To this day, the city of Paris continues to honor the contract. And because Shangri-la Hotel sits right next to Eiffel’s residence, it also enjoys an unobstructed view of the Tower.
 |
 |
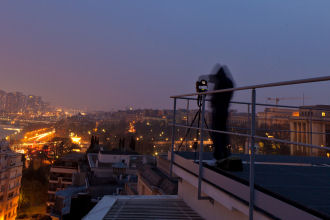 |
After admiring the view for a few minutes, I set up my camera and my GigaPan EPIC 100 and captured a full 360° view of Paris. It was a very cold and cloudy day but was still a spectacular view. I’m glad I made the trip to Paris for this once-in-a-lifetime opportunity.
The final image turned out to be an 11,191 megapixel image (278,117 x 42,838 pixels) composed of 1,638 individual photos stitched together.
I was able to capture a smaller gigapixel image at night.

A very special thank you to Shangri-la Hotel Paris for the roof access, in particular to Alain Borgers, Carmela Borgers, Matthias Terrettaz, Hubert Savouré.
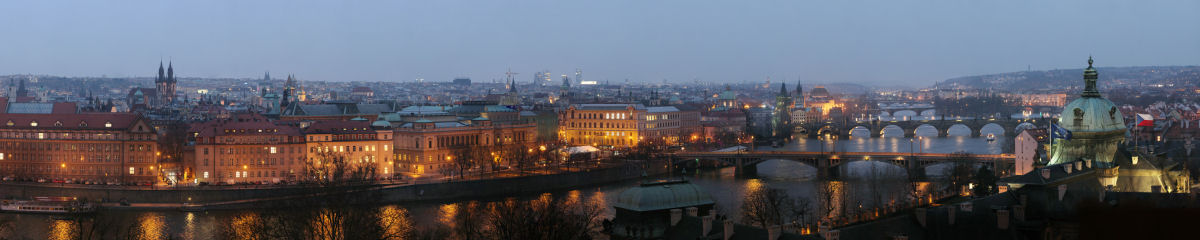
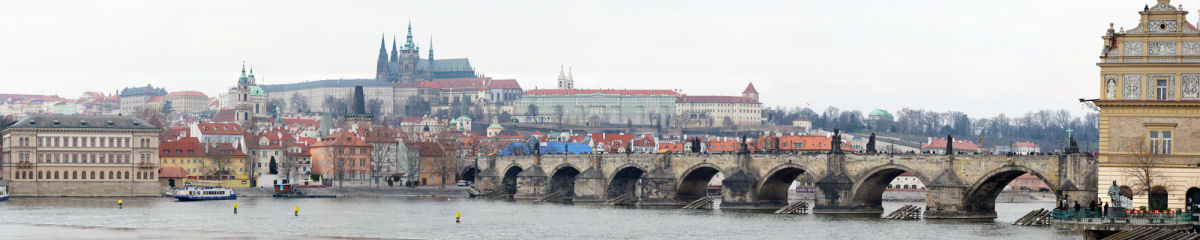
I’ve always been intrigued and fascinated by Prague in the Czech Republic. Because it is the epitome of classic, elegant Europe, it has always been the #1 place for me to visit in Europe. After my tour of Germany, I spent 4 days in Prague and soaked in its rich culture, architecture and history – from the Romanesque period, flourishing by the Gothic and Renaissance eras and most of all, it was the capital of the Holy Roman Empire.
 Mánes Bridge and Prague Castle |
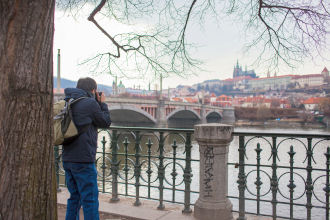
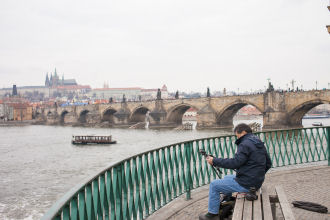 Capturing a gigapixel image of the Charles Bridge |
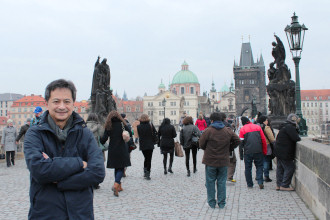 on the Charles Bridge |
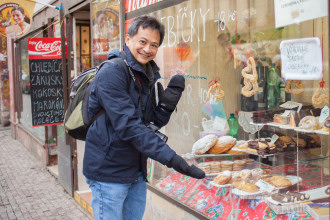 A local bakeshop |
Here are the gigapixel images I captured in Prague:
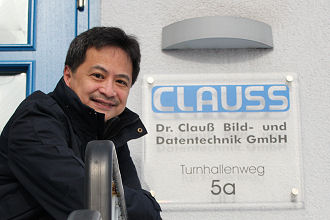
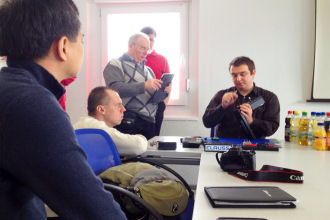
Being the exclusive distributor of Clauss Image and Data Technology GmbH in North America, I was invited to a reseller’s meeting planned for the last week of March at the company headquarters in Zwönitz, Germany.
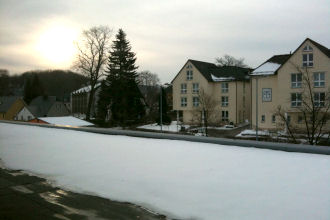 |
| Morning in Zwönitz, Germany |
It was a very very long trip from Vancouver to Zwonitz: a 10 hr flight to Frankfurt with a 1 hr connecting flight to Dresden, and finally a 2 hr train ride from Dresden to Zwönitz. Zwönitz is a small remote town in the district Erzgebirgskreis, in the Free State of Saxony, Germany.
It was great to finally meet the people behind the company and put a face behind the respective names and email addresses. Susanne Clauss, Product Market Manager, was our main host. We had orientations on the whole product line: turntables, panoramic heads and surveying technologies. We toured the factory and saw the attention to detail, the high quality and precision involved in the manufacturing process of each Rodeon device (authentic German-engineering). Clauss does not make any compromise in the quality of their products, that is, each part is carefully manufactured with extreme precision using aluminum or steel materials (no plastic parts), and each component is manually tested and calibrated.
 |
 |
 Susanne Clauss, Product Marketing Manager |
 Roland Clauss, Software Development & Support |
After the 3 day meeting, Susanne and Michelle (Reuther) took us on a day tour to nearby Dresden. Then from Dresden, I headed to Berlin by train to spend 2 days touring the city as well. I was able to capture an 837-megapixel photo of the Reichstag Building (below).
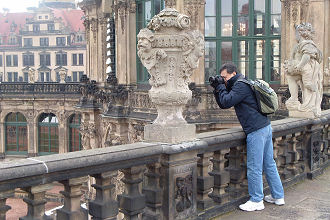 at the Zwinger (Dresden, Germany) |
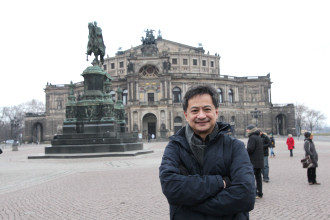 at the Semper Opera House (Dresden, Germany) |
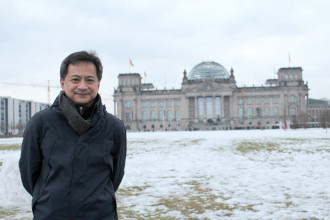 at the Reichstag Building (Berlin, Germany) |
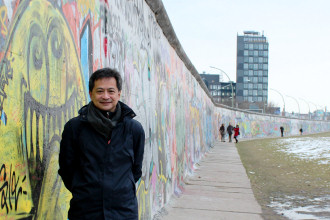 at the Berlin Wall East Side Gallery (Berlin, Germany) |

KATU News in Portland, Oregon did a feature on GigaPan Systems and included my 10-gigapixel image of Downtown Vancouver in their story.
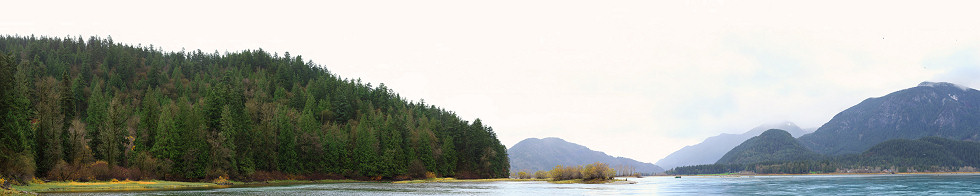
Eagle migration to the Chehalis/Harrison River Estuary to feed on spawning Coho and Chum Salmon occurs from December to February. On December 18, 2010, a total count of 7,362 eagles in a 2 sq km section of the flats set a world record high! This eagle concentration is perhaps the 3rd largest in the world after the Chilkat River, Alaska, and Squamish River, BC.
 |
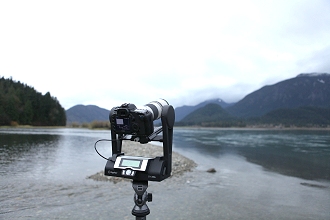 |
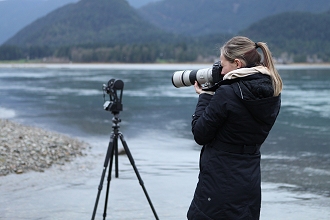
Ashley and I ventured to the Chehalis River on Dec 1, 2012. Since I’ve already created a gigapixel photo of the eagles last year, I wanted Ashley to capture one this time around. It was also her first time to visit and experience the place. We were lucky with the weather – it was raining the whole day but it stopped during our shoot.
Special thanks to David Hancock, Karen Bills and Jo-Anne Chadwick of Fraser River Safari.